Wednesday, June 13, 2012

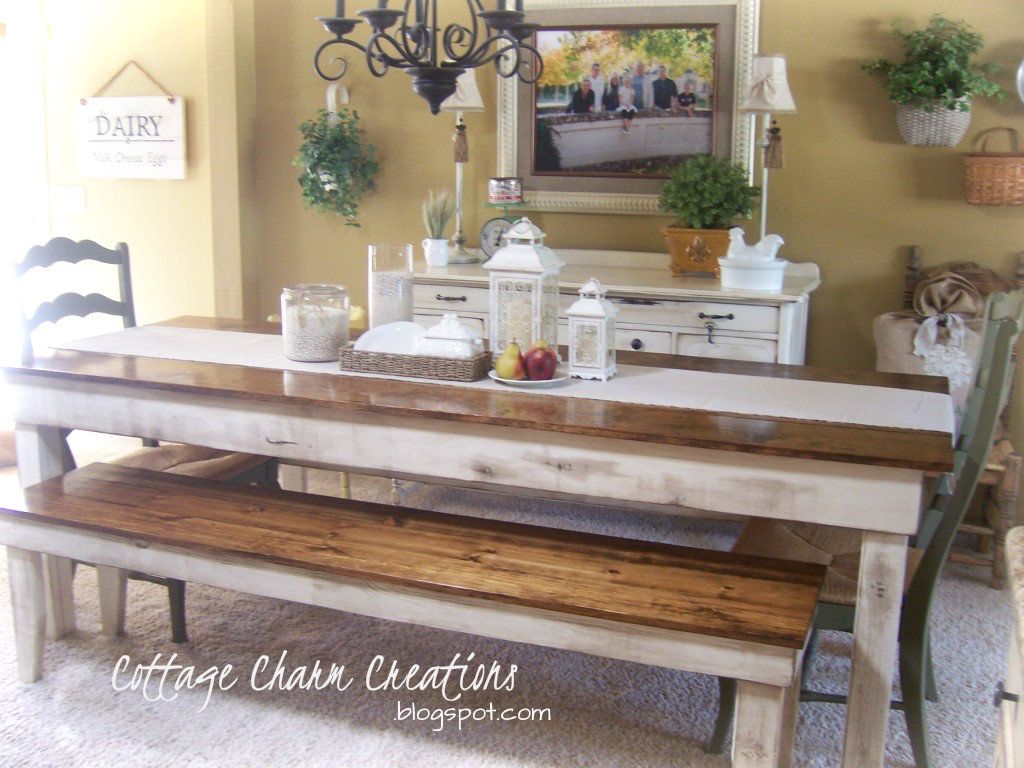
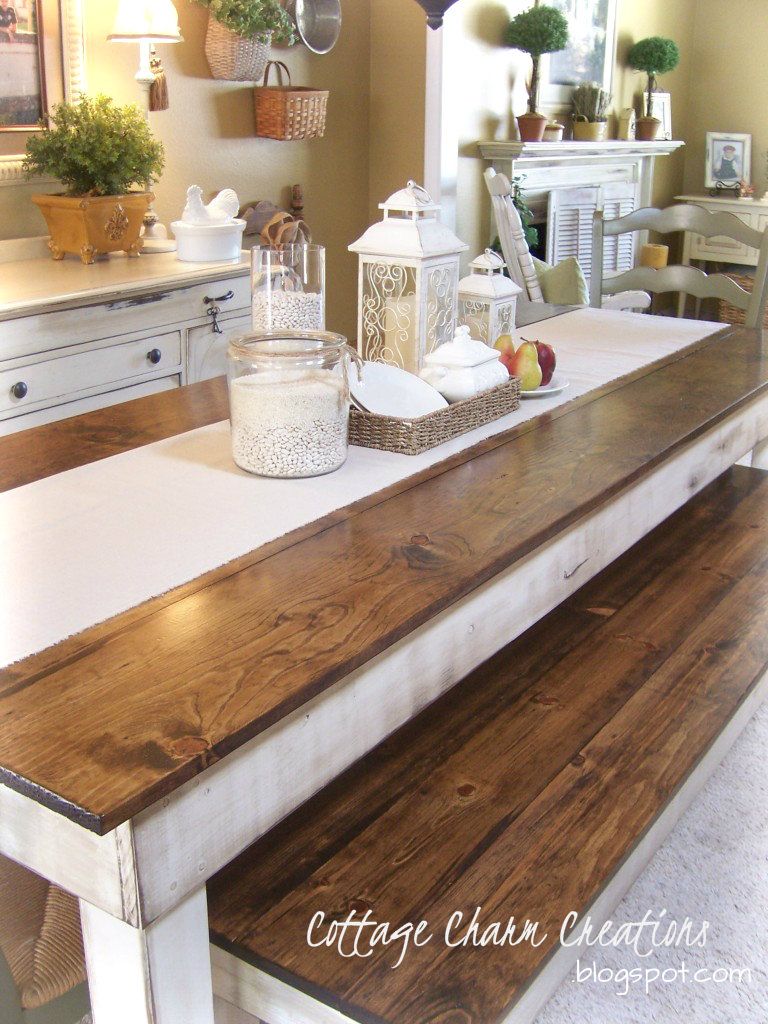
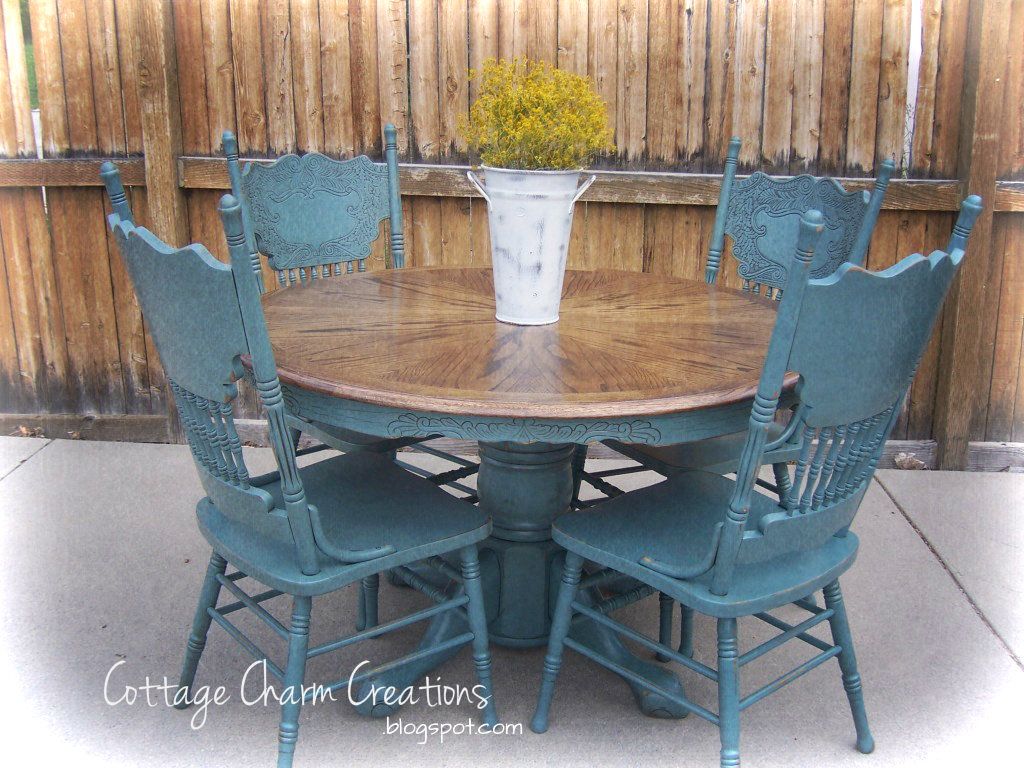
Provincial Farmhouse Table

I had a little problem. . .
The dining set that I absolutely ADORE was just too small for my growing family.
We have five kids, a soon to be daughter-in-law, and two very special girlfriends that
frequently join us for dinner. Eating a meal at our house meant that four of us
could sit around the table, and the rest were scattered around the bar and family room. . .

Since we all know that the kitchen is considered the heart of the home, then the dining
room table should be able to reflect that as well. . .

100_8343
100_8346
 
 
After sketching out a design I had seen in a book, we got to work. . .

It needed to be big enough to fit us ALL. . .that was my stipulation :)

100_8345


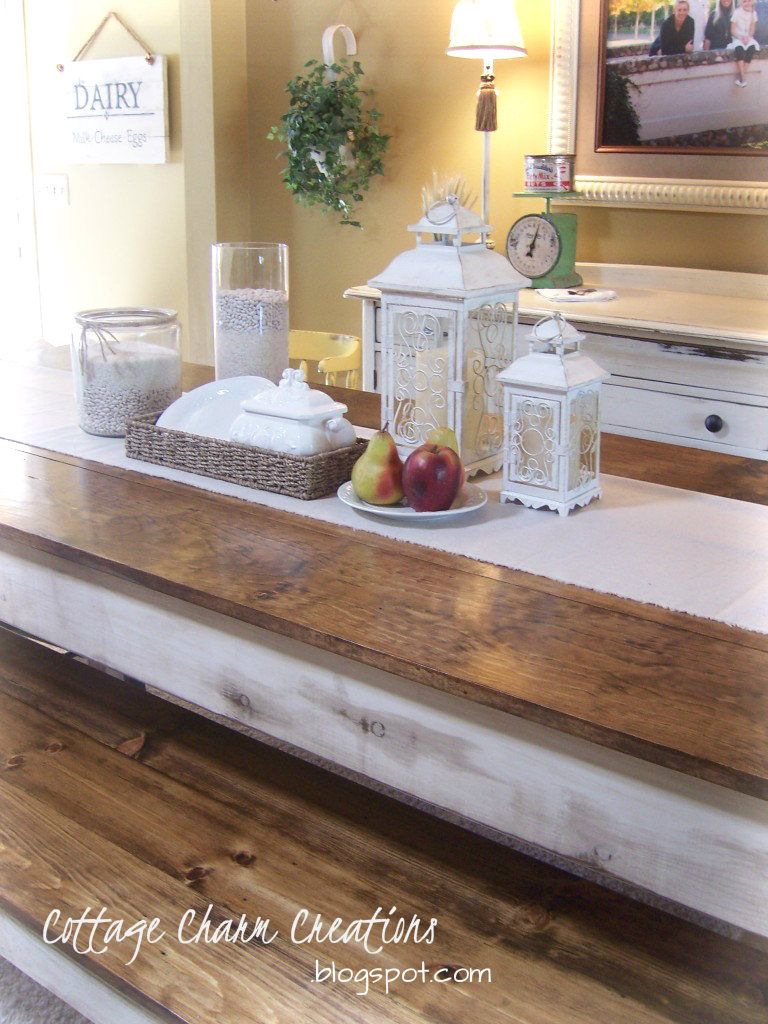
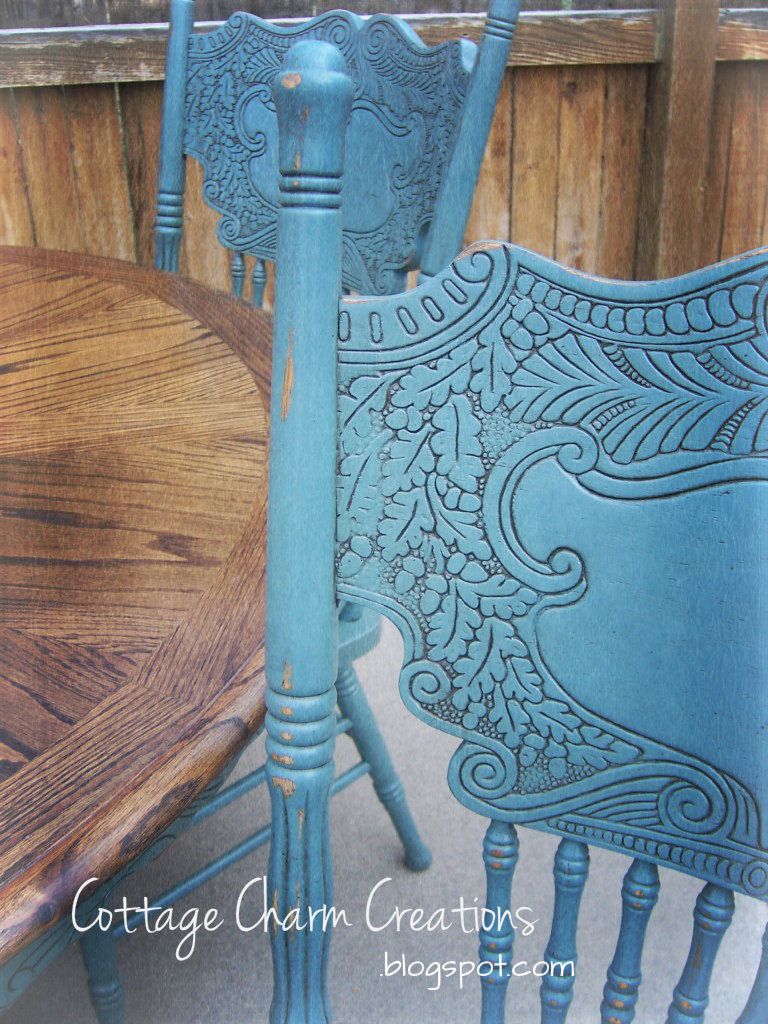
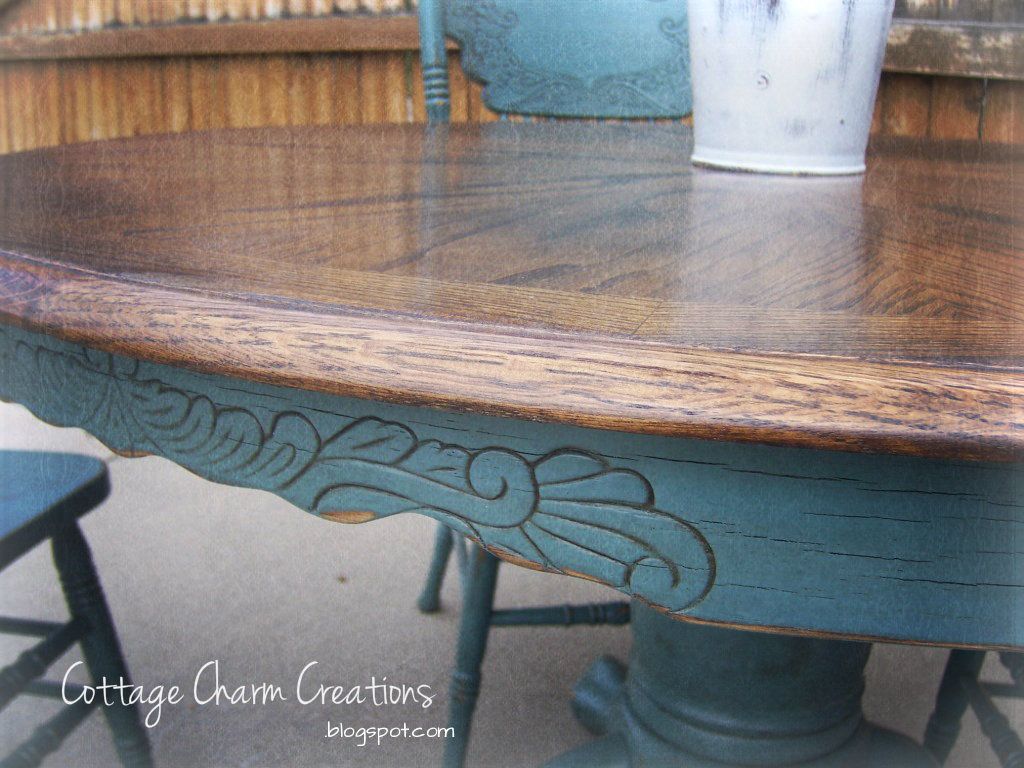
I wanted the body to appear as if it was a heirloom piece. . .

One that had been handed down for generations,
with a sense of natural comfort, practicality, and charm.


The final result exceeded my expectations, and I am tickled pink!!
My hubby is a good man.


. . .Time for a nice family meal and a late night game of cards :)


Friday, June 8, 2012

undercoating custom tutorial

I am in LOVE, I mean in LOVE with French Country Design. . .
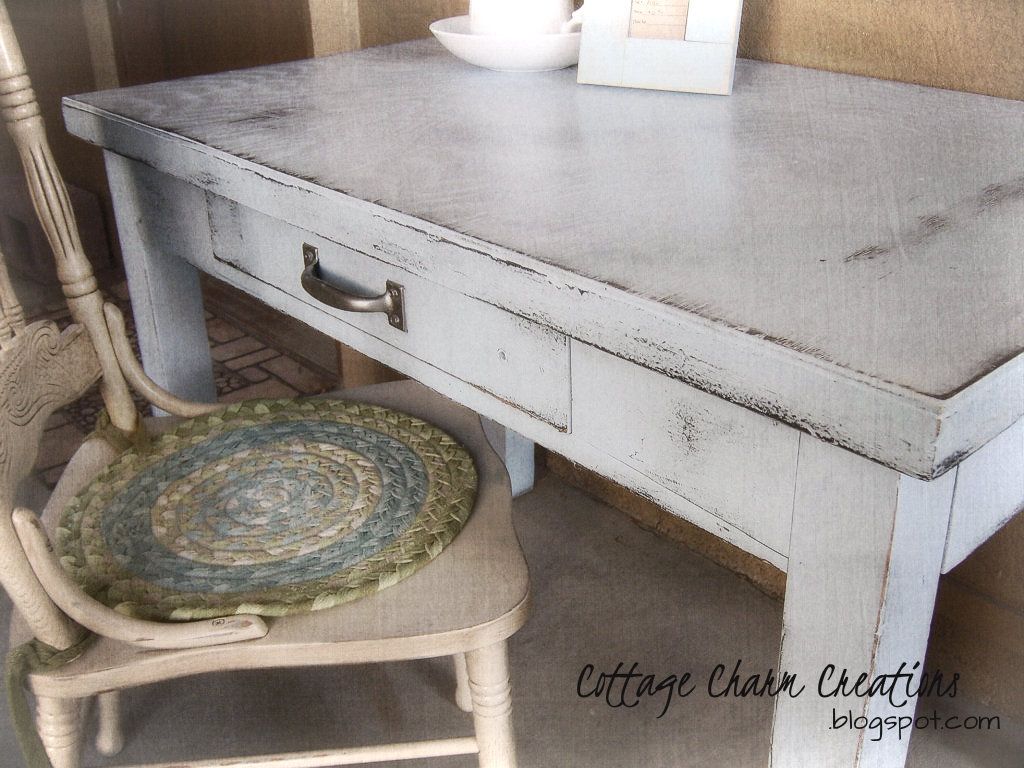
especially the layered, weathered & worn painted furniture that's
so commonly seen in the French rural countryside.

100_8230

A sense of  natural comfort, practicality, and charm is found in every aspect of
 French country living, and has always influenced interiors across Europe and America.

100_8268-1

I'm especially drawn to their subdued shades, soft tones, and natural materials. . .

100_8269

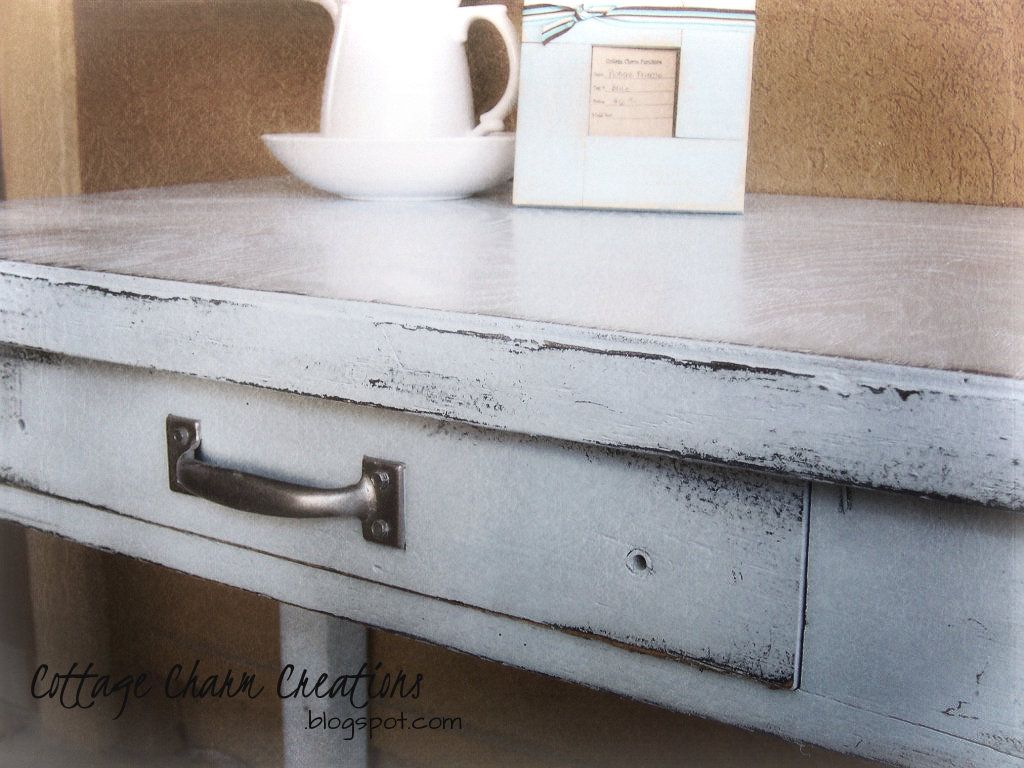
A common trademark of French Country is their unique way of "undercoating". . .
layers of painted finishes, revealing past lives and new beginnings.


100_7956-1

100_7960-1

Undercoating is a technique that took us a while to get just right,
but is pretty simple when following the right procedure. . .

100_8259

100_8263


Now it's YOUR turn!

If you would like to order the instant download
Undercoating Custom Tutorial,
you can do so in my Etsy shop here.


If you want to see more tips, tricks, and ideas, click here to view all our other tutorials. :)

Monday, June 4, 2012

Farmer's Market, week one!

Week one. . . of the Gardner Village Farmer's Market has officially begun!! Yee-haw!!


Gardner Village Farmers Market


We had a great day Saturday and were pleased with the turnout :)

Setting up our booth was pretty smooth and everything fit well. . .so I was
in a good mood. We met a lot of great people and enjoyed the fun atmosphere!

Here's a few pics of our area right before the market opened . . .


Luckily we took this picture in the morning, because by the afternoon
we were hot, sweaty, and not looking so great in the 90 degree weather!


Come by and say hi if you can. . .we'd LOVE to see you!


Wednesday, May 30, 2012

two-tone tutorial

Hubby and I just finished this adorable country table for one of
our clients and we are thrilled with the way it turned out :)

100_8245

When we got this, it was structurally in good shape, but had several
burn marks on both the table top and leaf. . .nothing that a good
electric sander can't take care of!


The chairs also had a great design. . .perfect for glazing :)


Our client wanted a deep turquoise with the top finished in dark walnut,
so we browsed through the color deck to find something that would
compliment the stain. . .


Using a 60 grit sand paper and our trusty orbital sander, we
were able to get down to the bare wood.

We also made sure to go back over it with a 100 grit to smooth it out.


One of our all time favorite finishes to use is Minwax Dark Walnut,
and can be purchased at Home Depot or Lowes.


Make sure the surface is dusted well, and brush on. . .

 With a clean cotton cloth (we cut up old t-shirts) simply wipe off. . .easy as pie!


When staining, do an entire section at a time. . .


Allow to dry at least 24 hours.


For the clear coat, we use both of these products, and get great results:

1. Brush on clear coat. . .after completely dry, sand lightly (sanding sponge) and dust off.

2. Follow step #1 again. . .if it's still not completely smooth, repeat this
step a third time.

3. Using the aerosol can in sweeping motions, spray on clear coat.

(you may want to practice this procedure on an old piece of wood first)


. . .and this is what you get


Here's one of the chairs before applying the glaze.
It's pretty just the way it is, but the glaze will deepen the color,
as well as bring it to life once it gets in the grooves. . .


Oooooh yes, that's what I wanted :)


100_8250

Another shot of the table skirt before glazing. . .


A little distressing, a little glazing. . .


100_8251

And there you have it. . .a beautifully stained, two-tone finish :)


100_8245

Just like new. . .YUMMY!


You can learn more about our oil glazing tutorial here.
 
and...
 
If you want to see more tips, tricks, and ideas, click here to view all our other tutorials. :)

Monday, May 28, 2012

farmhouse restoration, part ll

You may recall this beautiful farmhouse we've been working on. . .
Last fall we refinished the exterior, which was a lot of fun :)

You can see the original transformation with loads of pictures here.


Anyways, here she is before. . .


Around the side of the house is a porch area, which looks more like the front
of the house to me. . .however, these houses were traditionally built with a
formal "front" door, a casual "side" door, and a "back" door. . .probably
for the dirty little rugrats that had been playing out in the fields all day :)

I love everything about this quaint little porch. . .except for the green
carpet, which was on our list of things to do.


While the guys were busy painting the garage, the girls and I decided to get to
work on the porch. . .little did we know that there was another layer of
the lovely carpet underneath! After much tugging, pulling, and squeals from
the occasional spider, we were able to get down to the original wood.


much better. . .


It's now ready for finishing :)


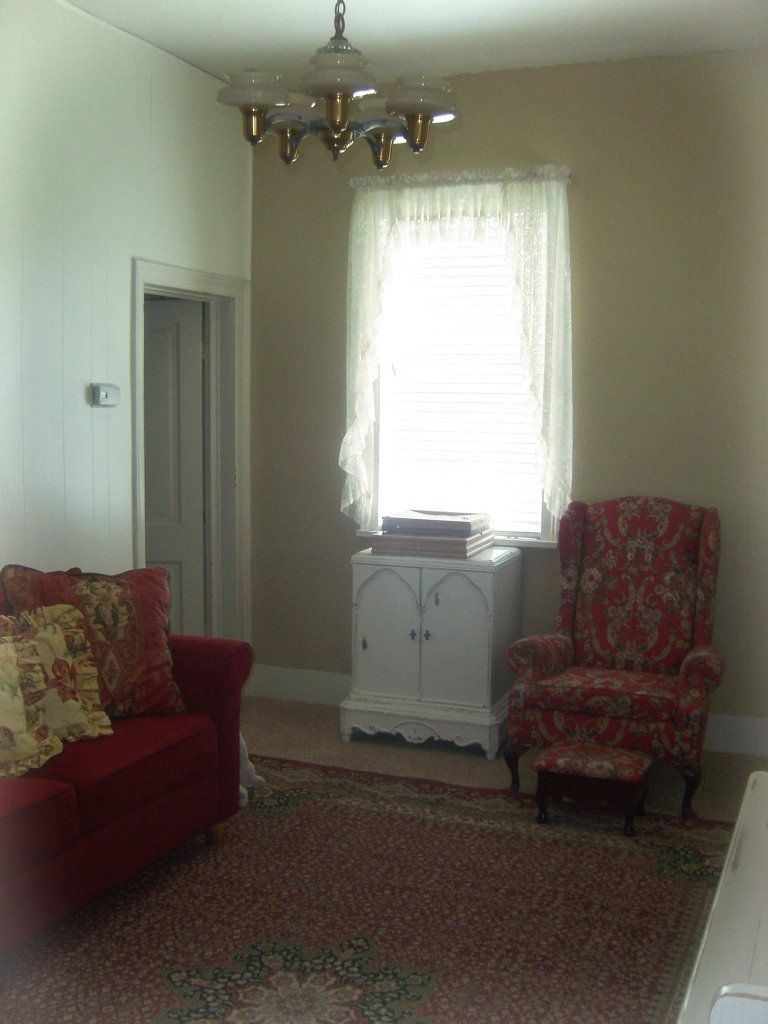
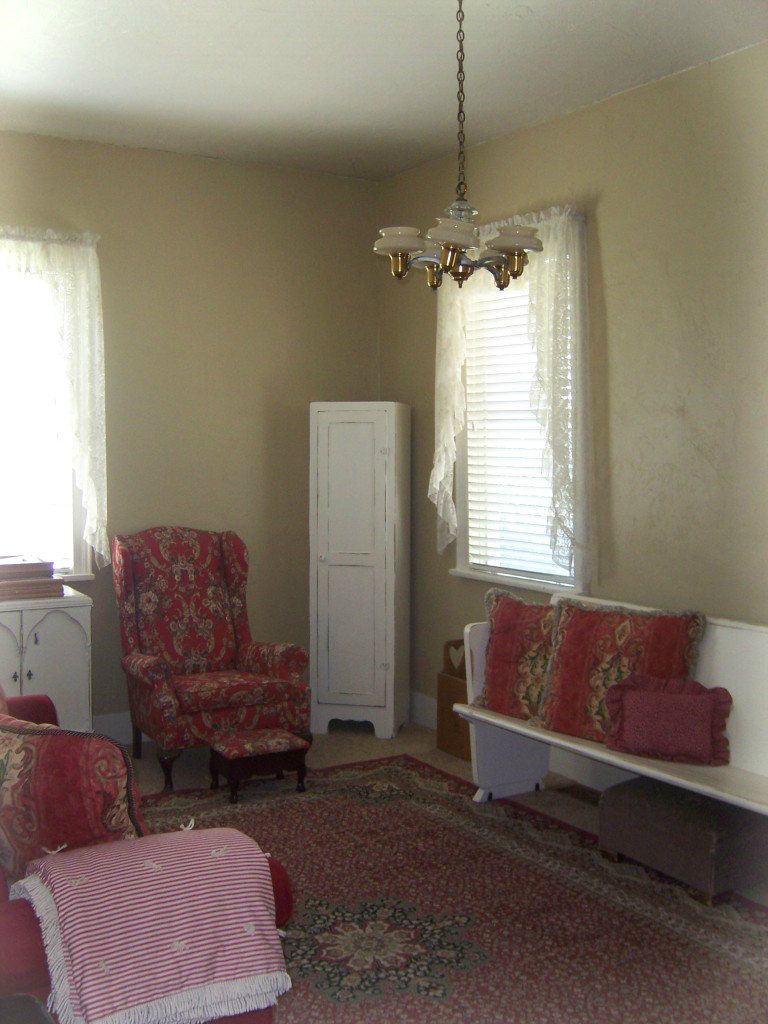
Just inside the porch door is the parlor. . .a tall narrow room, but very cozy :)

The initial idea for this room was to pull down the outdated wood paneling
and wallpaper, and hang bead board. . .however after realizing that the walls
were made of plaster, we decided it wasn't such a good idea since doing so
could do a lot of damage to the brittle plaster. . .


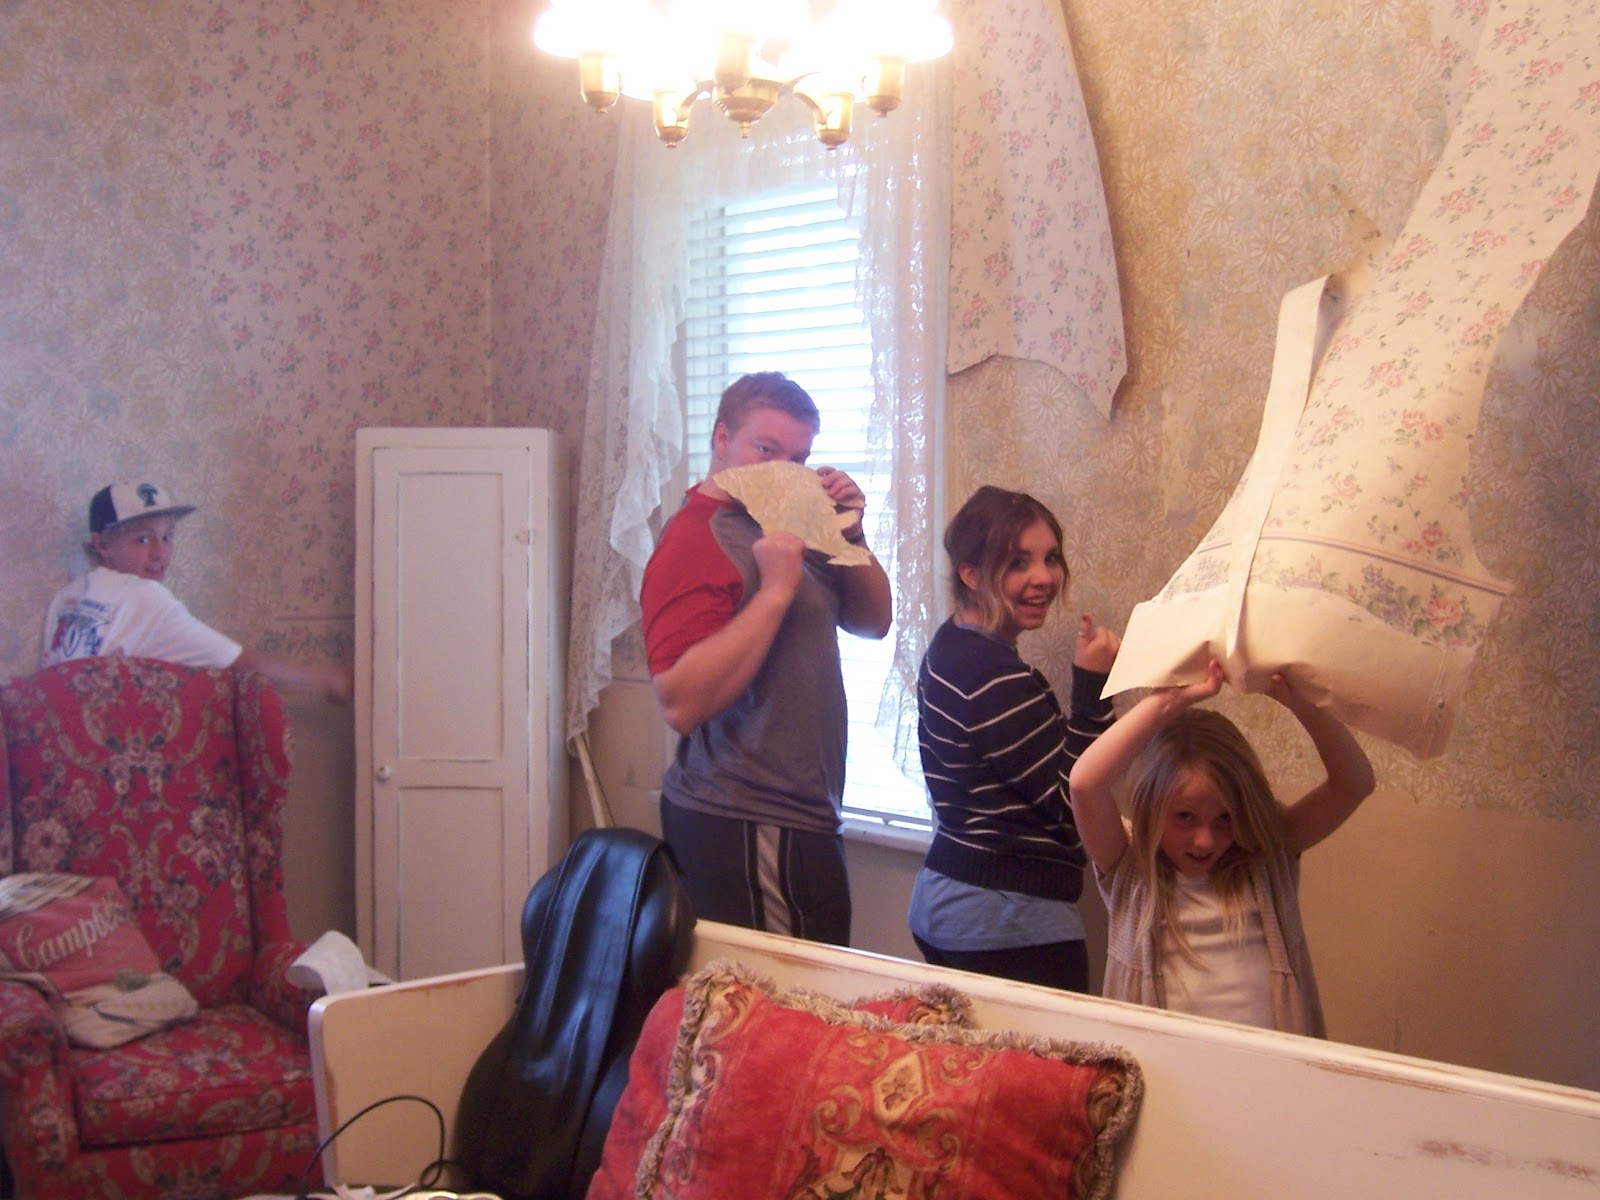
After discussing the situation with the homeowner, we decided to pull down the
wallpaper and texture the two outer walls. . .


We do have ladders, really. . .I promise!!


Here's a close up of the plaster walls with small chunks that had fallen out.
Needless to say, we were relieved with the decision NOT to tear out the paneling. . .


After removing the wallpaper, Todd got busy with the mud. . .


I LOVE the textured look. . .the inconsistent designs, and imperfect patterns.


. . .waiting to dry


Meanwhile, we got to work on the paneling. . .see the little area
that jogs out behind the red bench? That's a slender brick chimney, and
the homeowner wanted it exposed. . .good choice (her and I think very much alike ;)


Here you can see it peeking out :)


After pulling off the paneling, we found a quarter inch mortar layer
which we gently chiseled away at, revealing this beautiful soft colored brick. . .


LOVE it!!

I forgot to get an "after" shot,
which was really dumb, because it was my favorite part,
but next time we head up there I'll snap a picture of it.


Since we didn't dare remove the paneling, the next best option was
to paint it, so as to resemble a wood plank wall.

Here, we are applying a oil based primer, which will seal out any "bleeding" from
the paneling, as well as create a good bondable surface. . .


 before. . .


and after. . .

 100_8227

The paneled wall was finished in a soft antique white.

Wallpaper before. . .


. . .and after

We went with a neutral beige as an accent color, which allowed the
fun and cheerful red take center stage.

100_8228

 Here's some of our restoration crew. . .
our oldest son and his darling wife to be :)


Our second son and his adorable gal. . .


 Todd and our third son working on the garage. . .
I'm behind the camera, which is a good place for me to be :)


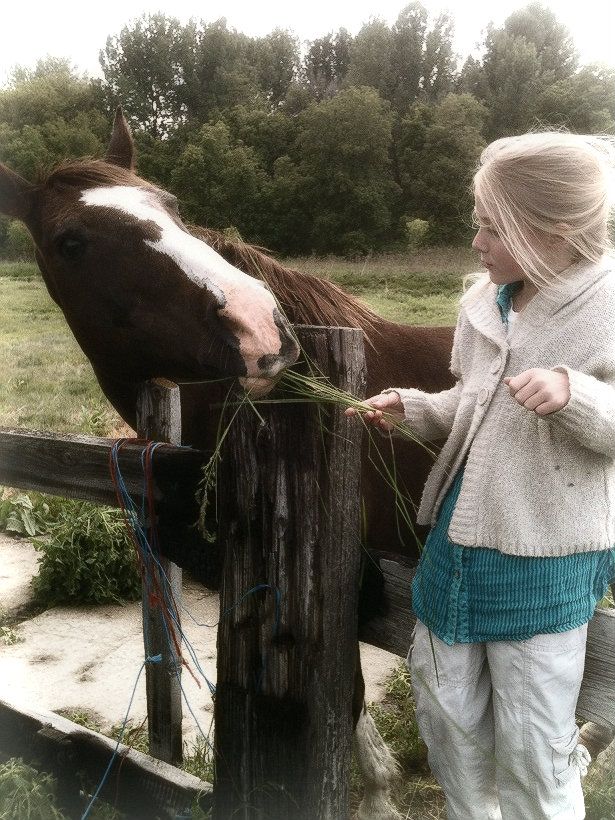
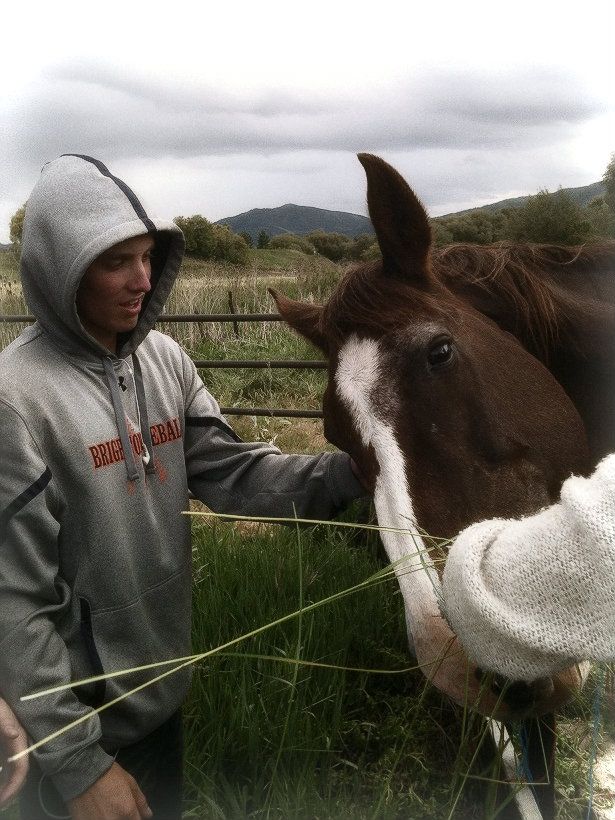
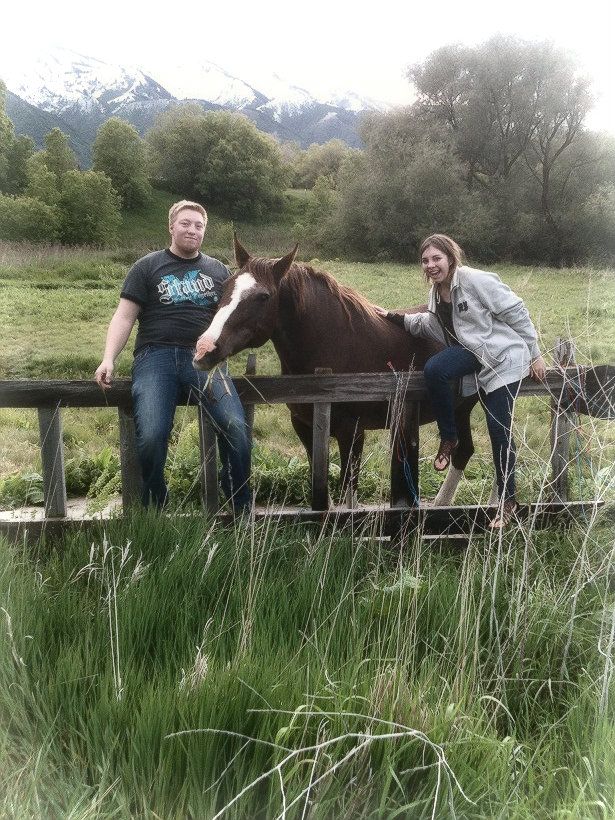
Of course, we had to take an occasional stroll down the street to
visit the cattle and horses. . .this one was so friendly,
we wanted to take him home with us :)

siswithhorse

treywithhorse

baileytiffwithhorse

Ahhhh. . .maybe someday :)